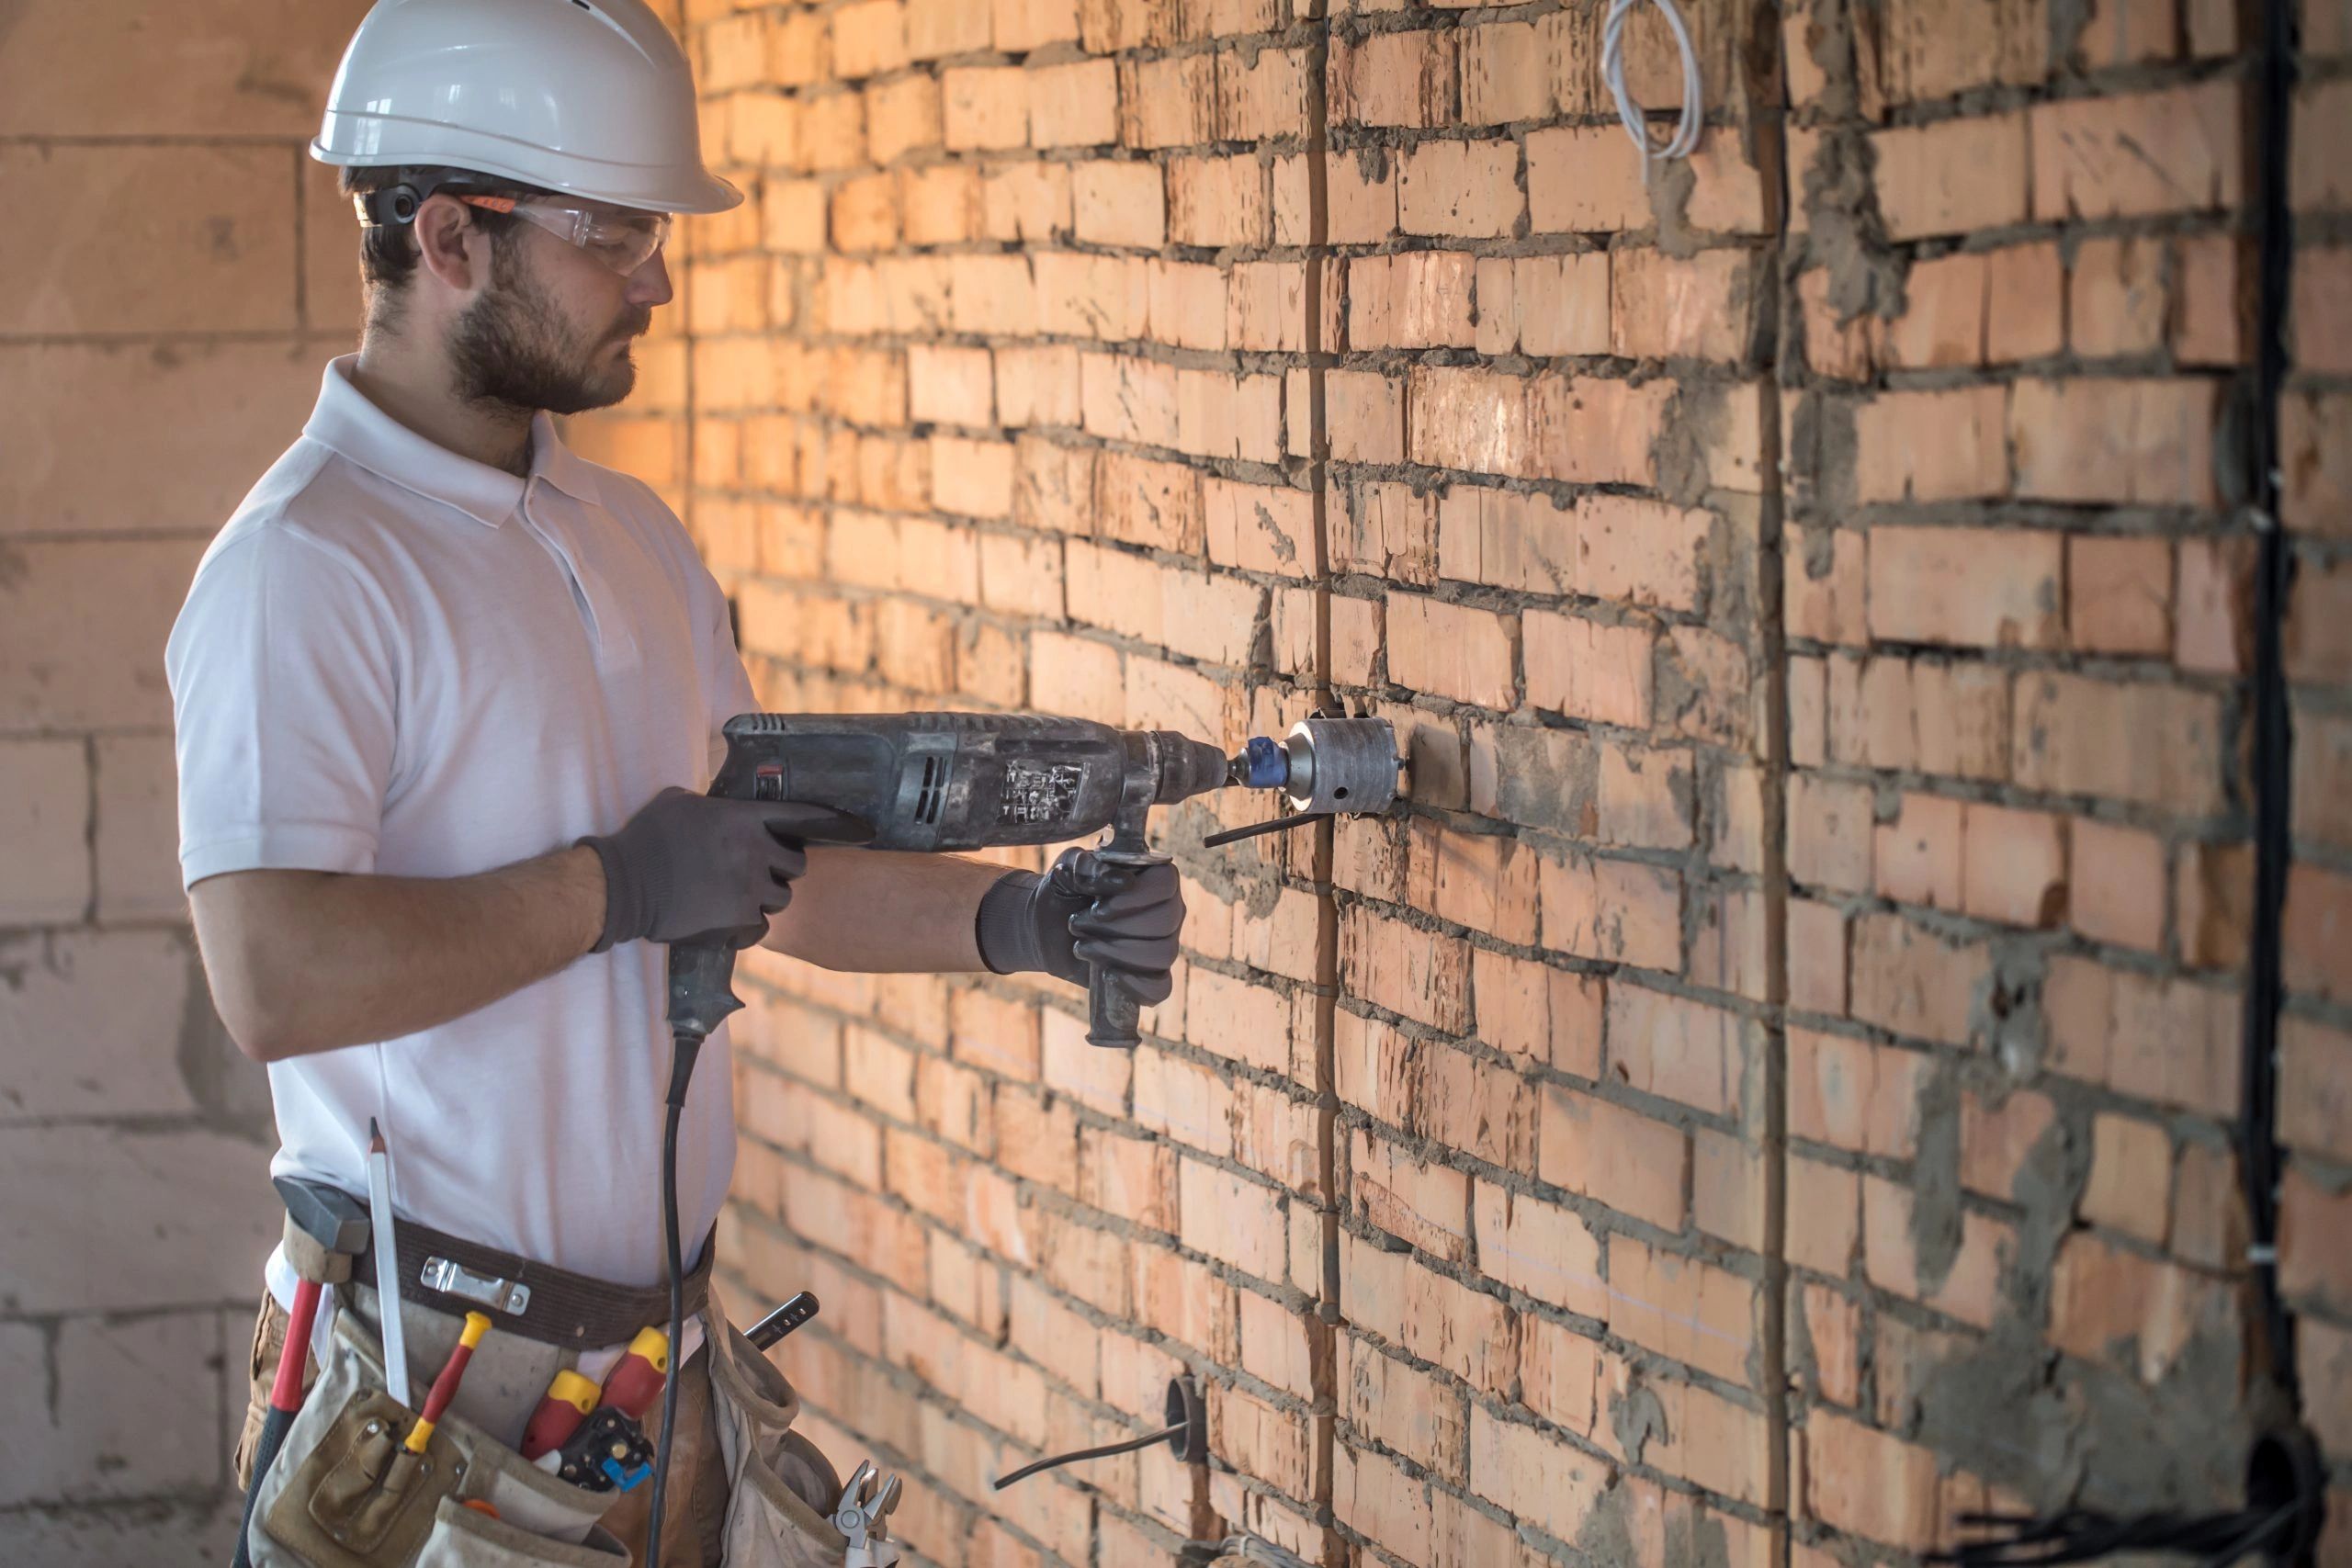
Plastering is a crucial aspect of interior wall construction, providing both a protective and aesthetic finish. Over time, plaster can develop cracks, holes, and other imperfections due to various factors such as settlement, moisture, or accidental impact. Fortunately, professional plastering repair can restore the integrity and appearance of interior walls, ensuring they remain both functional and visually appealing. This article outlines the importance of addressing plastering issues promptly and guides readers through the process of professional plastering repair.
Understanding Plastering Issues
Common Causes of Plaster Damage
Plaster damage can result from several common factors, including:
- Moisture: Water infiltration can cause plaster to weaken and crumble.
- Structural Movement: Building settlement can lead to cracking in plaster walls.
- Accidental Impact: Physical knocks or bumps can leave dents or holes.
- Age and Wear: Over time, the natural aging process can lead to deterioration.
Each of these causes requires a unique approach to repair to ensure a long-lasting solution. Read more about this topic.
Steps in Professional Plastering Repair
1. Assessment and Preparation
The first step in any plaster repair project is a thorough assessment of the damage. This should include identifying the type of plaster used, the extent of the damage, and any underlying issues that may need to be addressed. Following the assessment:
- Clear the Area: Remove any furniture or obstructions from the work area.
- Protect Surfaces: Use drop cloths or plastic sheeting to protect floors and other surfaces.
- Prepare Tools and Materials: Gather necessary tools, such as trowels, sandpaper, and repair compounds.
2. Removing Damaged Plaster
Careful removal of damaged plaster is essential to providing a sound base for repairs. This may involve:
- Chipping Away Loose Sections: Use a chisel or scraper to remove any loose or flaking plaster.
- Cleaning the Surface: Ensure the underlying surface is clean and free of debris.
Proper surface preparation is key to ensuring the longevity of the repair. Learn more in this detailed guide.
3. Applying New Plaster
Once the surface is prepared, new plaster can be applied. The process generally involves:
- Mixing Plaster: Prepare the plaster mix according to manufacturer instructions.
- Application Technique: Use a trowel to apply the plaster in layers, allowing each layer to dry before adding the next.
- Smoothing and Finishing: Smooth the surface using sandpaper or a finishing tool for a seamless look.
Proper application techniques are vital for a flawless finish. Explore further insights here.
Benefits of Professional Plastering Repair
Engaging professional plastering services ensures high-quality results and several benefits, including:
- Expertise: Professionals have the skills and experience to tackle complex repairs.
- Durability: High-quality materials and techniques ensure long-lasting repairs.
- Time-Efficiency: Professionals can complete repairs quickly, minimizing disruption.
Professional repairs can enhance both the functionality and aesthetics of interior spaces. Find additional information here.
Conclusion
Professional plastering repair is essential for maintaining the integrity and appearance of interior walls. By understanding the causes of plaster damage and following a structured repair process, homeowners can ensure their walls remain in excellent condition for years to come. Investing in professional repair services not only addresses current issues but also prevents future problems, enhancing the overall value and appeal of a property. For further guidance and insights, visit the provided resources to explore the topic in greater detail.