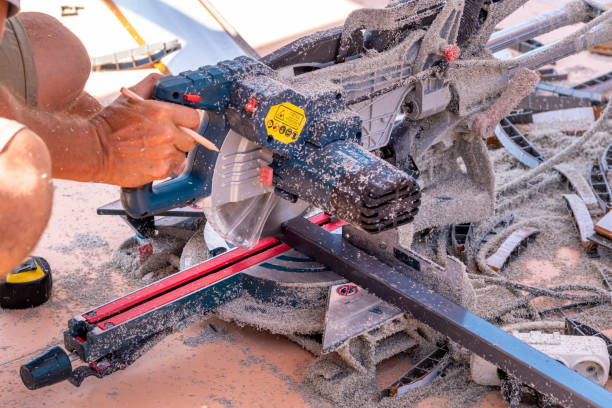
The installation of fascia and soffit systems is a crucial element in maintaining the structural integrity and aesthetic appeal of a building. These components play a pivotal role in protecting the home from moisture damage while providing a polished finish to the roofing. A seamless installation process ensures durability, functionality, and a clean look. This guide explores the step-by-step process of installing fascia and soffit systems, emphasizing the importance of precision and professional handling.
Understanding Fascia and Soffit
The fascia is a horizontal board that runs along the edge of the roof, serving as a barrier between the roof’s edge and the outdoors. It is essential for supporting the lower edge of the roof tiles and carrying the gutter system. The soffit, on the other hand, is located beneath the fascia and provides ventilation to the attic while protecting the rafters from weather exposure.
Key Functions
- Protection: Shields the roof and walls from moisture and weather damage.
- Aesthetic Appeal: Enhances the exterior appearance with a finished look.
- Ventilation: Facilitates airflow in the attic, preventing moisture build-up.
Preparation for Installation
Before commencing the fascia and soffit installation services, it is imperative to conduct a thorough inspection of the roofline. This ensures the surface is free of any rot or damage and is ready to support the new materials. Measurements must be taken meticulously to ensure precise cuts and fitment.
- Inspect the roofline for any signs of damage or rot.
- Measure the length and width of the areas to be covered.
- Choose appropriate materials such as wood, vinyl, or aluminum for aluminum soffit and fascia installation.
Installation Process
Step 1: Removing Old Fascia and Soffit
The first step involves the careful removal of existing fascia and soffit. This process requires the use of tools to detach the boards without causing damage to the underlying structure. Special attention is needed to remove nails and screws safely.
Step 2: Cutting and Preparing New Materials
Once the old materials are removed, the next phase is to cut the new fascia and soffit boards. Precision is key, as incorrect measurements can lead to gaps or overlaps. Professional tools and techniques ensure clean and accurate cuts.
Step 3: Installing the New Fascia
The fascia boards are installed first, aligning with the roofline. They must be secured firmly to withstand the weight of the gutters and external elements. Use galvanized nails or screws to prevent rust and ensure longevity.
Step 4: Installing the Soffit
Following the fascia installation, the soffit panels are mounted beneath. The panels should fit snugly into the grooves of the fascia boards, creating a seamless appearance. This step is critical for both aesthetics and functionality, ensuring proper ventilation.
Ensuring a Seamless Finish
A crucial aspect of the fascia & soffit replacement is ensuring all edges and joints are sealed properly. This prevents water ingress and enhances the overall durability of the installation. Additionally, painting or treating the boards can offer extra protection and match the desired exterior color scheme.
Professional services often offer fascia installation near me for those seeking expert handling. Engaging skilled professionals guarantees a seamless and efficient installation process, safeguarding the home for years to come.
Conclusion
Proper installation of fascia and soffit systems is integral to maintaining the structural integrity of a building. From preparation to execution, every step must be handled with precision and care. For those in need of expert assistance, professional soffit and fascia replacement services are readily available to ensure a flawless finish and lasting protection.