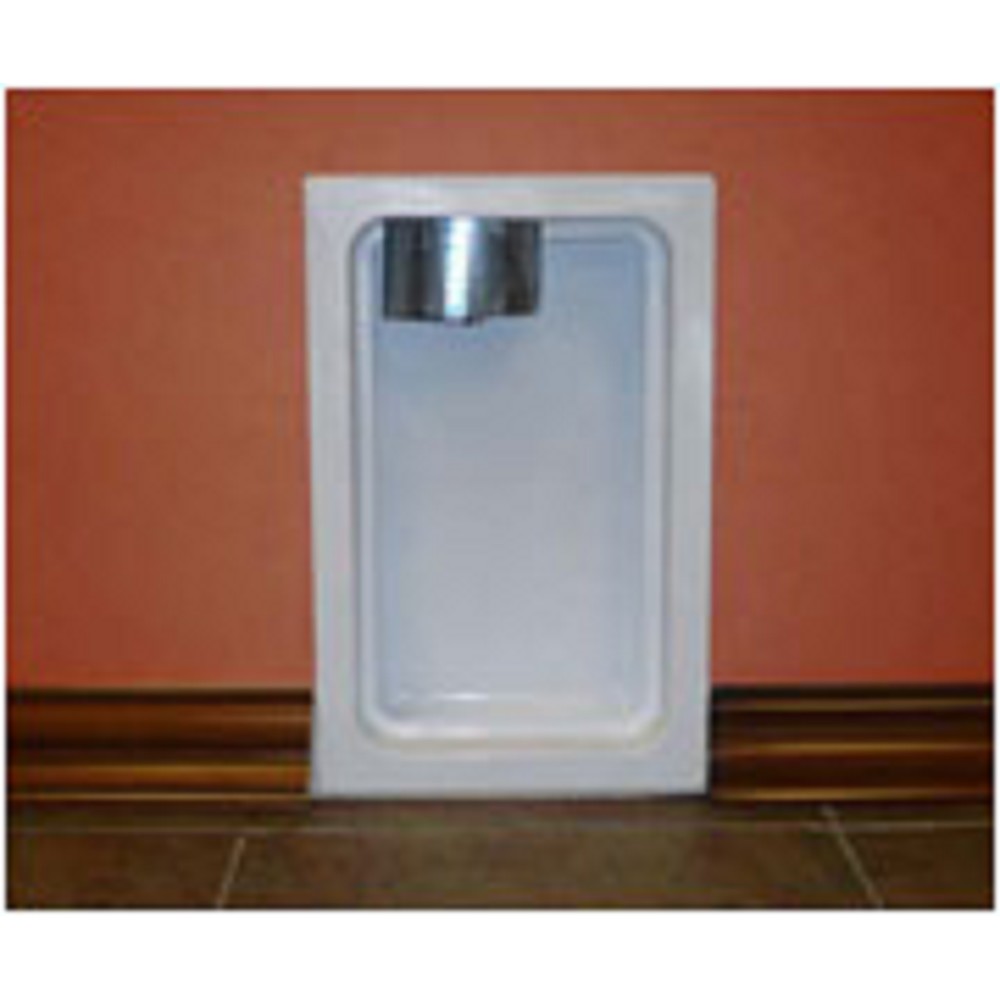
In the realm of home improvement and construction, ensuring safety and efficiency in every aspect is paramount. One often overlooked aspect in this domain is the dryer vent system. A metal dryer vent box is an integral component that assures both the safety and efficiency of dryer operations. By understanding the significance of utilizing a metal dryer vent box, homeowners and professionals can significantly enhance the functionality and safety of their venting systems. This ultimate guide delves into the essentials of metal dryer vent boxes, providing insights into their benefits, installation processes, and maintenance strategies.
Why Choose a Metal Dryer Vent Box?
Metal dryer vent boxes offer numerous advantages over their counterparts made from other materials. Here are some compelling reasons to consider them:
- Fire Safety: Metal is inherently fire-resistant, reducing the risk of dryer fires that can occur due to lint accumulation and overheating.
- Durability: Metal boxes are known for their longevity and ability to withstand the wear and tear common in laundry room environments.
- Efficiency: The smooth interior of metal vent boxes facilitates better airflow, which enhances the dryer’s performance and reduces energy consumption.
- Compliance: Many building codes and regulations require the use of metal vent boxes, making them a reliable choice for new constructions and renovations.
Installation Process
Installing a metal dryer vent box may seem daunting, but with the right tools and guidance, it can be a straightforward process.
Preparation and Tools Required
Before starting the installation, ensure the following tools and materials are on hand:
- Metal dryer vent box
- Measuring tape
- Drill with appropriate bits
- Level
- Screws and anchors
- Caulking gun
Step-by-Step Installation
- Measure and Mark: Determine the location for the vent box, ensuring it aligns with the dryer’s exhaust port. Mark the position on the wall using a pencil.
- Cut the Opening: Carefully cut an opening in the wall to accommodate the box. The hole should be slightly larger than the box dimensions to allow for adjustments.
- Secure the Box: Insert the metal dryer vent box into the opening. Use a level to ensure it is properly aligned, then secure it in place using screws and anchors.
- Seal the Edges: Apply caulk around the edges to seal any gaps, preventing air leaks and enhancing energy efficiency.
- Connect the Vent: Attach the dryer vent hose to the box, ensuring a secure and airtight connection.
To discover expert strategies here for a seamless installation experience.
Maintenance Tips
Regular maintenance of the metal dryer vent box is crucial to ensure its optimal performance and longevity. Here are some tips to keep the system in top condition:
- Regular Cleaning: Periodically remove lint build-up inside the vent box to prevent clogs and potential fire hazards.
- Inspect for Damage: Check the box for any signs of rust or damage. Promptly address any issues to maintain efficiency and safety.
- Seal Integrity: Reapply caulk around the edges if any gaps appear, ensuring the box remains airtight.
Learn about our tailored solutions for enhancing the durability and performance of metal dryer vent boxes.
Conclusion
Investing in a metal dryer vent box is a wise decision for anyone looking to enhance the safety and efficiency of their dryer system. From their fire-resistant properties to their contribution to energy savings, these boxes are an essential component in modern home and commercial building projects. For those seeking more information on selecting and maintaining the right vent box, explore advanced guides and tips available online. By staying informed and attentive to maintenance, the benefits of a well-installed metal dryer vent box can be enjoyed for years to come.